
Để tối ưu tốc độ website, chúng ta thường sử dụng công cụ PageSpeed Insights của Google. Một trong những nguyên nhân website của bạn bị cho điểm thấp là hình ảnh chưa được tối ưu.
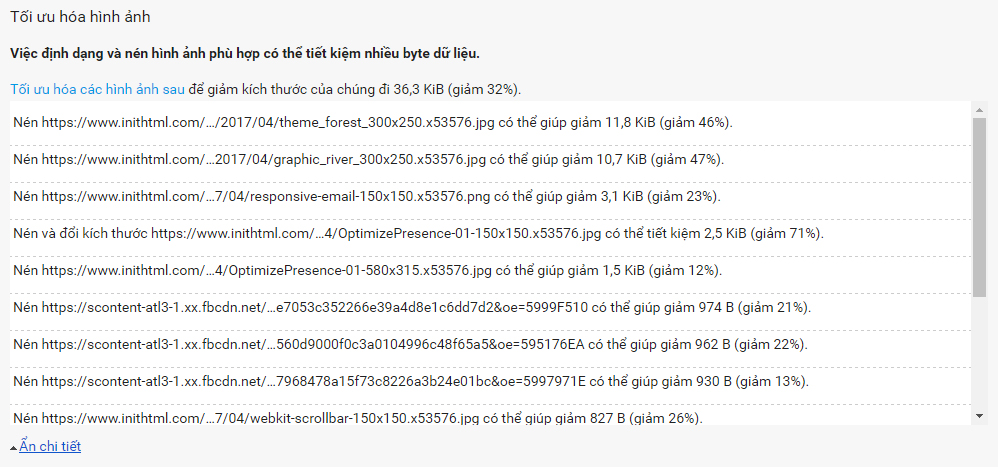
Bạn có thể tải Tài nguyên được Google cung cấp ở cuối trang thử nghiệm để thay thế hình ảnh hiện có, nhưng với một website hoạt động lâu năm, số lượng hình ảnh lớn, bạn không thể thay thế từng hình ảnh. Một số phải giáp như Kraken.io hoặc WP Smush (WordPress) thì thu phí quá cao.
Do đó, bạn có thể dùng giải pháp của mình, đó là nén hình ảnh ngay tại máy chủ. Để nén hình ảnh JPG, chúng ta sử dụng công cụ jpegoptim.
Cài đặt
Cài đặt jpegoptim trên Debian/Ubuntu:
apt-get install jpegoptimCài đặt jpegoptim trên CentOS/RHEL:
yum -y install jpegoptimSử dụng
Lệnh cơ bản:
jpegoptim file.jpgNén toàn bộ hình ảnh trong thư mục:
for i in /path/to/img/*.jpg; do jpegoptim $i; doneCác tùy chọn khác:
-d, --dest=
Sets alternative destination directory where to save optimized files (default is to overwrite the originals). Please note that unchanged
files won't be added to the destination directory. This means if the source file can't be compressed, no file will be created in the destinaâ€
tion path.
-f, --force
Force optimization, even if the result would be larger than the original file.
-h, --help
Displays short usage information and exits.
-m[0..100], --max=[0..100]
Sets the maximum image quality factor (disables lossless optimization mode, which is by default enabled). This option will reduce quality of
those source files that were saved using higher quality setting. While files that already have lower quality setting will be compressed
using the lossless optimization method.
-n, --noaction
Don't really optimize files, just print results.
-o, --overwrite
Overwrite target file even if it exists (when using -d option).
-p, --preserve
Preserve file modification times.
-q, --quiet
Quiet mode.
-t, --totals
Print totals after processing all files.
-v, --verbose
Enables verbose mode (positively chatty).
--strip-all
Strip all (Comment & Exif) markers from output file. (NOTE! by default only Comment & Exif markers are kept, everything else is discarded)
--strip-com
Strip Comment (COM) markers from output file.
--strip-exif
Strip EXIF markers from output file.
--strip-iptc
Strip IPTC markers from output file.
--strip-icc
Strip ICC profiles from output file.Ví dụ:
jpegoptim --max=70 --strip-all file.jpgVí dụ này có nghĩa là xóa tất cả thông tin đính kèm ảnh, và nén ảnh ở chất lượng 70%.
Một số ví dụ
Nén ảnh ở chất lượng 70%, xóa tất cả thông tin đính kèm ảnh tại thư mục cố định. Thay /path/to/img bằng đường dẫn của bạn.
for i in /path/to/img/*.jpg; do jpegoptim --max=70 --strip-all $i; doneTìm tất cả ảnh JPG tại nhiều thư mục khác nhau trong đường dẫn cố định. Thay /path/to/folder bằng đường dẫn của bạn.
find /path/to/folder -type f -iname "*.jpg" -exec jpegoptim --max=70 --strip-all {} \;Lưu ý: Sử dụng công cụ này sẽ làm giảm chất lượng hình ảnh rõ rệt nếu chọn tỉ lệ nén cao. Bạn vẫn nên tối ưu hình ảnh trước khi tải lên web bằng cách chọn Save for Web, để chất lượng High hoặc Medium nếu dùng Photoshop hoặc các công cụ online như JPG Optimiser.


Bình luận